
You end with a running Notifuse instance, a workspace and an email provider that has sent you a test email.
Before you start
- An email address you can read right away, for the sign-up code.
- A credit card. Every plan starts with a 14-day free trial, and the card is required to start it.
- Credentials for an email provider: an SMTP server, or an Amazon SES account with a sender address you have verified in it. Notifuse Cloud has no built-in sender, so a workspace sends nothing until you connect one.
Set up your instance
Sign up
Go to cloud.notifuse.com, enter your Email and click Send Verification Code.
Type the 6-digit code from the email you receive.
Fill in the onboarding form
The Set up your account form asks for:
- Full name, Organization name and Website URL.
- Subdomain: your instance lives at
https://<subdomain>.notifuse.cloud. Use 3 to 20 lowercase letters, numbers and single hyphens, starting with a letter. - Logo URL, optional.
- Plan and Billing period.
Click Create Deployment. You go to Stripe Checkout to enter your card, then back to Notifuse Cloud while your instance is set up.
Open the console
On the dashboard of cloud.notifuse.com, click Open console once the instance is running.
The console asks for your email. Use the one you signed up with: it is the administrator of your instance. Click Send Magic Code, type the 6-digit code you receive, then click Verify Code.
Create a workspace
Your instance starts with no workspace, so the console opens on New workspace.
- Workspace Name: 3 to 32 characters.
- Workspace ID: generated from the name. It can only hold lowercase letters and numbers, at most 20, and it appears in URLs and API requests.
- Website URL: optional. Notifuse uses it to find your favicon.
Click Create Workspace. The workspace comes with a contact for you and a list called Test List that you are subscribed to.
Connect an email provider
Go to Settings, then Integrations under Sending. Click Add integration and pick your provider in the Email sending group.
Every provider asks for a Name, at least one sender (Add sender asks for an Email and a Name) and a Rate for marketing in emails per minute, 25 by default. Then fill in the provider’s own fields:
SMTP
- Host: your SMTP server’s name.
- Port: 587 for STARTTLS, 465 for TLS from the first byte, 25 unencrypted.
- Encryption: keep Use TLS on unless your server takes plain text.
- EHLO hostname: optional. It defaults to the host.
- Method: Username and password, or OAuth2 for a Microsoft 365 or Google Workspace mailbox.
- Username and Password: leave them empty for a server that takes mail without login.
See SMTP for OAuth2 and common servers.
Amazon SES
- Region: the AWS region where your verified identities are.
- Access key ID and Secret access key: of an IAM user allowed to send with SES.
- Tenant isolation: optional. It gives the workspace its own SES reputation and suppression list, and AWS bills it per tenant.
- Advanced: Configuration set and SES tenant, for names you manage yourself in AWS. Leave them empty.
See Amazon SES for the IAM permissions.
Click Save.
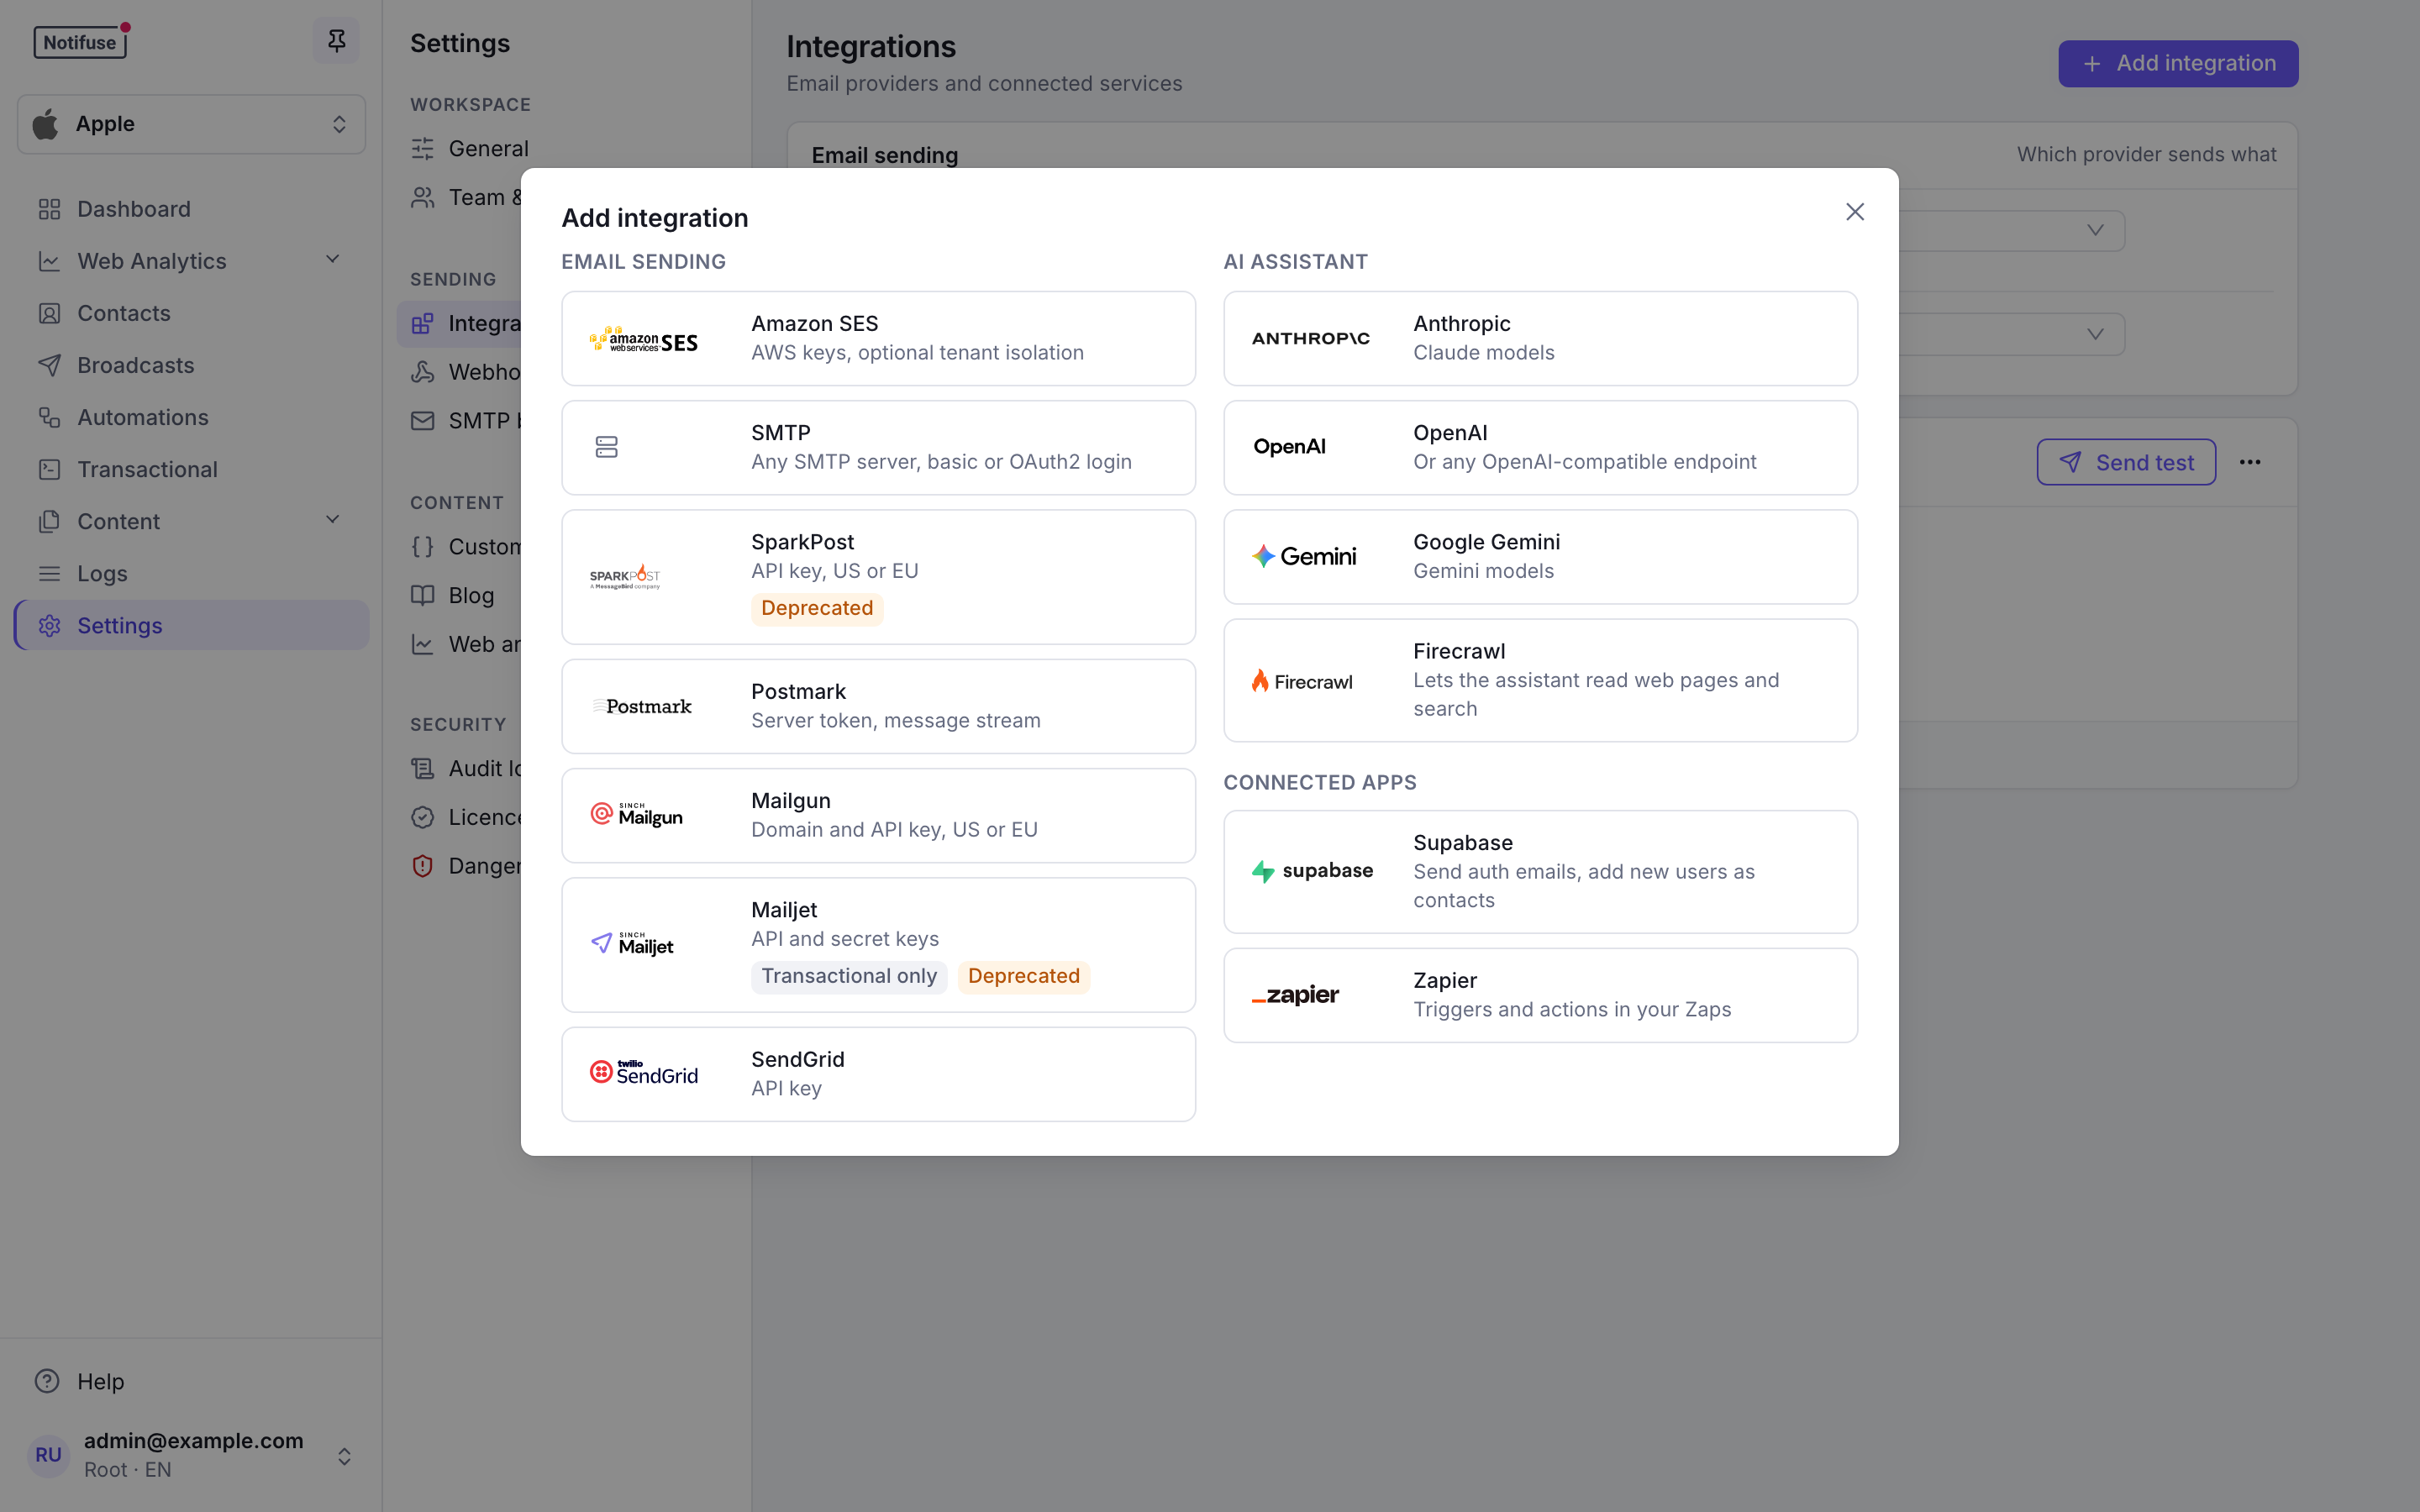
The Add integration catalogue, with the email providers on the left Choose what the provider sends
A new provider sends nothing until you give it a role. In the Email sending panel, pick it for Marketing emails (broadcasts and automation emails) and for Transactional emails (notifications sent through the API, Zapier or Supabase). Confirm each change with Yes.
The provider card’s menu has the same choices: Use for marketing and Use for transactional.
For every provider except SMTP, Notifuse registers webhooks when you save, so it learns about deliveries, bounces and complaints. Check that the card shows Webhooks registered. If it shows Webhooks not registered, click Register webhooks in the card’s menu.
Send a test
Click Send test on the provider card. Enter your address in Send to and click Send test email.
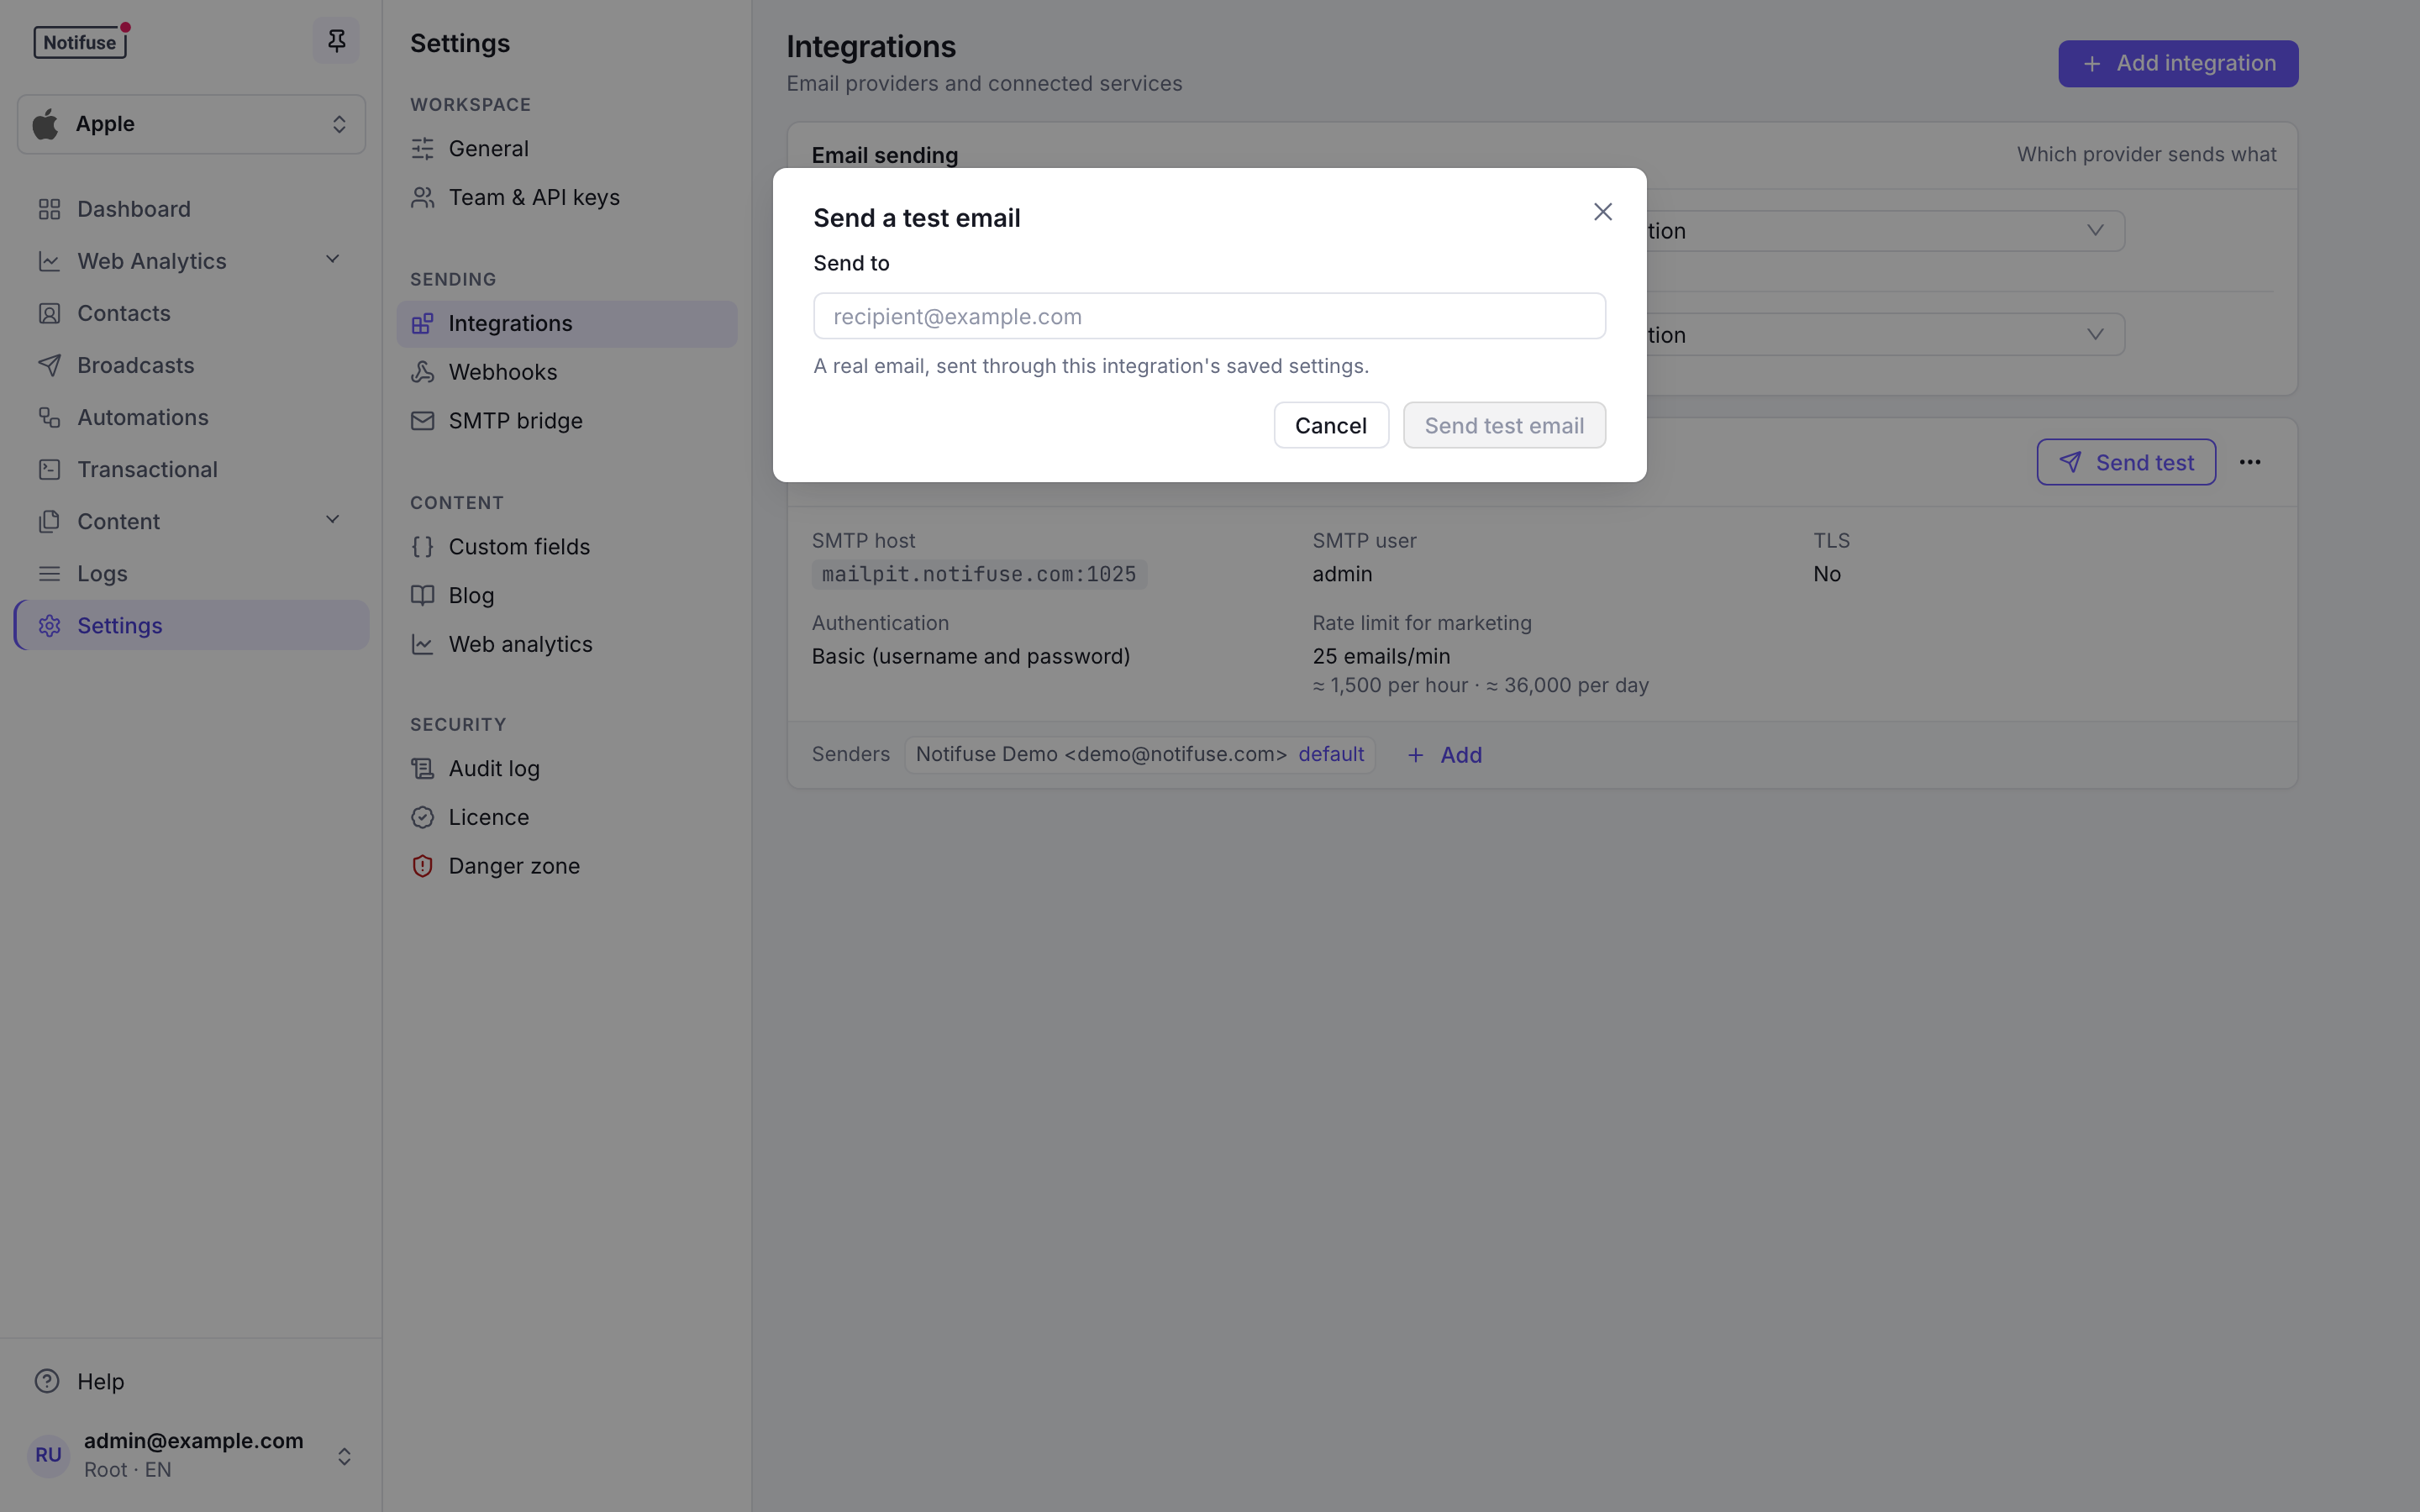
The Send a test email dialog, opened from the provider card
Check that it works
- The test email is in your inbox. If it isn’t, check the spam folder, then the provider’s credentials and the sender address.
- In the Email sending panel, neither role shows Not set.
Mailjet can only send transactional emails, so it can’t take the marketing role.