
You end up with an automation that sends a welcome email when someone joins a list, a second email three days later and a third at the end of their first week.
Before you start
- A workspace with an email provider set for Marketing emails in Settings › Integrations. Automation emails go out through that provider unless a step picks another one.
- A list that new subscribers join. See Lists.
- Know whether that list uses double opt-in. It decides which event starts the automation (step 2).
Create the three templates
Open Templates and click New template once for each email. The Gallery has a Welcome model you can start from for the first one, and Simple gives you a logo, a paragraph and a footer for the other two.
For each template, set the Subject and the Sender in its settings. The automation sends each email with its template’s own subject and sender: an Email step has no field to change them.
Set the Category to Marketing for all three, including the one built from the Welcome model, which starts as Welcome. Two things depend on it:
- An Email step checks the contact’s status on the list only for Marketing and Blog templates. If the contact unsubscribed, bounced or complained, the email is skipped and the contact leaves the automation. With any other category, the email is sent anyway.
- The Sender field lists the senders of your marketing email provider, which is the one the automation sends with.
Keep
{{ unsubscribe_url }}in each email so subscribers can leave the list. See Templates for the editor and the Liquid variables.Create the automation and its trigger
Open Automations and click New automation. Type a name in the Automation name field at the top.
In the left column, under Settings:
- List: the list new subscribers join. Email steps stay disabled until you pick one (“Select a list to enable email nodes”).
- Frequency: Once per contact, so a contact goes through the sequence at most once.
Click the trigger step and set Trigger Event to List, then pick the event that matches your list, and the same list in the trigger’s List field:
- Subscribed for a list without double opt-in. It fires when a contact is added to the list as active.
- Confirmed for a double opt-in list. A form signup lands as pending, and when the subscriber clicks the confirmation link their status moves from pending to active. That move fires Confirmed, and Subscribed never fires for them.
On a double opt-in list, contacts you add from the console, with an API key or by CSV import skip the pending status and fire Subscribed. If you want them welcomed too, build a second automation with the same steps on Subscribed.
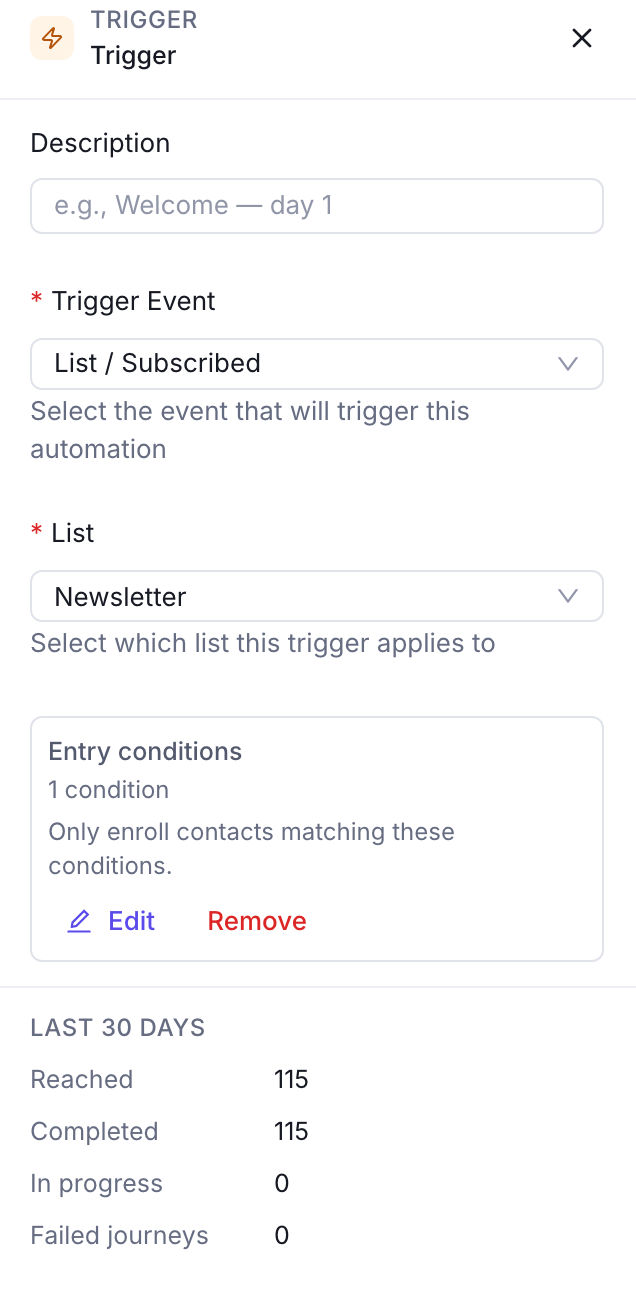
The trigger of an automation: the list event and the list it watches Add the emails and the delays
Add steps from the palette in the left column, or with the + under a step. Build this chain under the trigger:
- Email: pick the first template in Email Template.
- Delay: set Wait Duration to 3 Days.
- Email: the second template.
- Delay: 4 Days.
- Email: the third template.
The second email goes out three days after the contact joined and the third on day seven. Wait Duration takes 1 to 365, in minutes, hours or days.
Leave Email Integration on Use workspace default unless these emails must go through another provider.
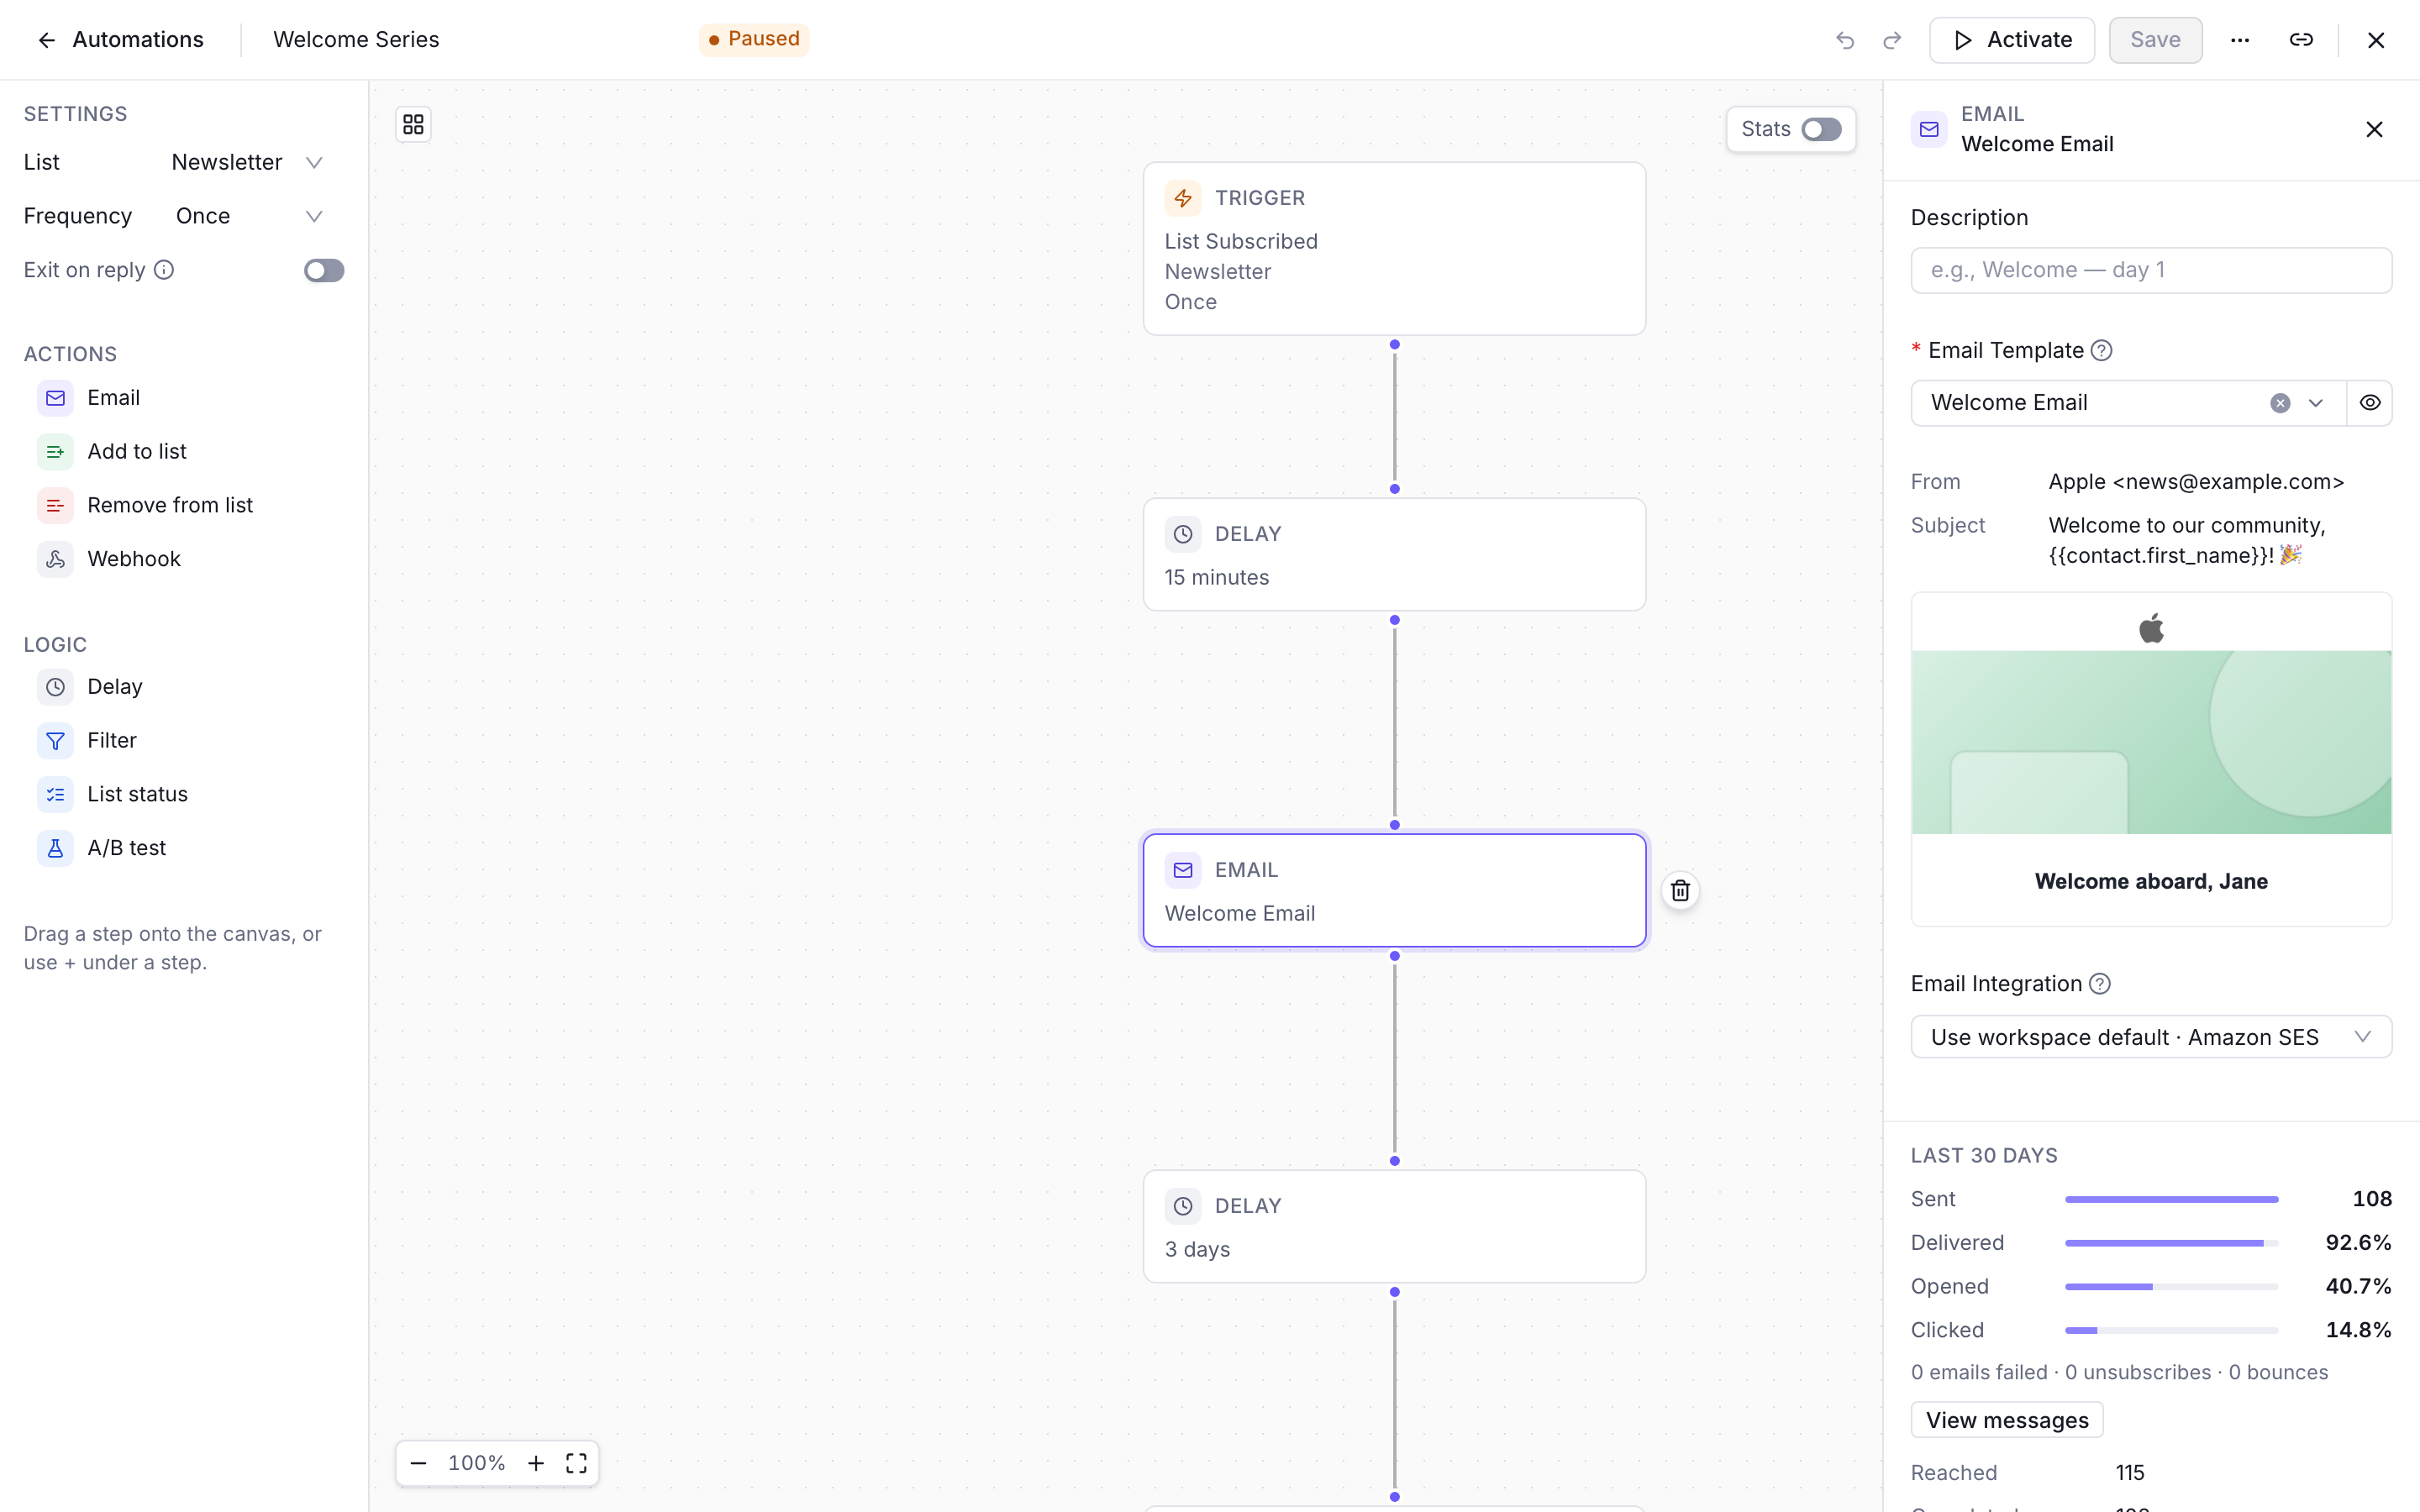
A welcome sequence on the canvas: the trigger, then emails separated by delays Save and activate
Click Create to save the automation. It starts as a draft and sends nothing yet.
Click Activate, then Yes, activate in the “Activate automation?” dialog. From then on, each new event that matches the trigger starts the sequence for that contact. Contacts who joined the list before you activated it don’t enter.
To change a live automation, click Pause first, edit, save, then activate it again.
Test with your own address
Join the list yourself, the way your subscribers do:
- Subscribed trigger: open Contacts, add yourself with New contact, open your contact, click + (Subscribe to list) in its Lists panel, pick the list and click Subscribe.
- Confirmed trigger: sign up through your form and click the link in the confirmation email. Adding yourself from the console won’t start this automation, because it fires Subscribed. See Add a double opt-in signup form.
Check your inbox for the first email. To check the delays without waiting a week, set them to a few minutes while you test, then put back 3 and 4 days before real subscribers arrive. Pause the automation to edit it.
With Once per contact, an address goes through the automation only once, so use a different address for each test run.
Check that it works
Open your contact in Contacts, go to the Activity tab and pick the Events filter. You should see “Entered the automation” with your automation’s name, then “Completed the automation” once the last email has gone out. A contact who unsubscribed shows “Left the automation” with the reason, and a journey that hit an error shows “Failed in the automation”.
The console has no step-by-step view of one contact’s journey. For the whole automation, open it and turn on Stats in the editor header, then pick 7 d, 30 d or All time. Each step shows what the journeys did there, and Email steps show how many emails were sent, delivered, opened and clicked.
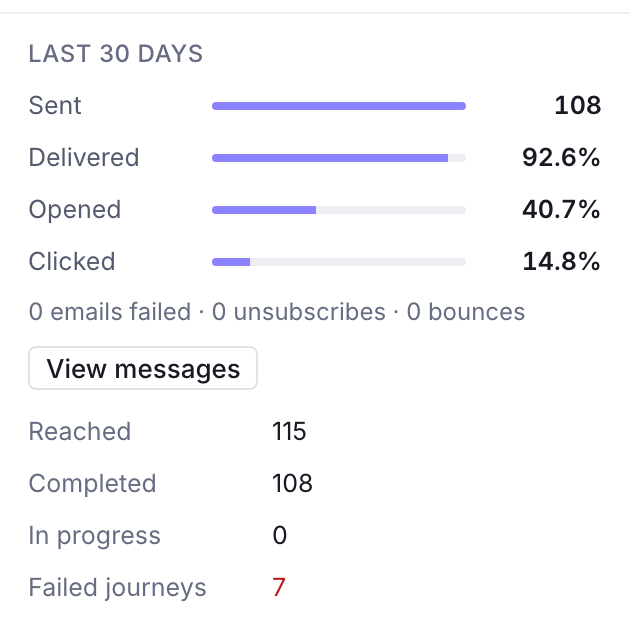
Each email also appears in Logs, on the Messages tab, with the Automations origin. See Logs.
Next steps
- Add a double opt-in signup form to feed the list.
- Automations covers the other step types, such as Filter and A/B test.
- Win back inactive customers once your subscribers have been around for a while.